Discover the art of creating beautiful origami flowers with easy-to-follow PDF guides. Learn step-by-step folding techniques‚ from classic roses to intricate lotus designs‚ perfect for beginners and experts alike.
1.1 Overview of Origami Flowers
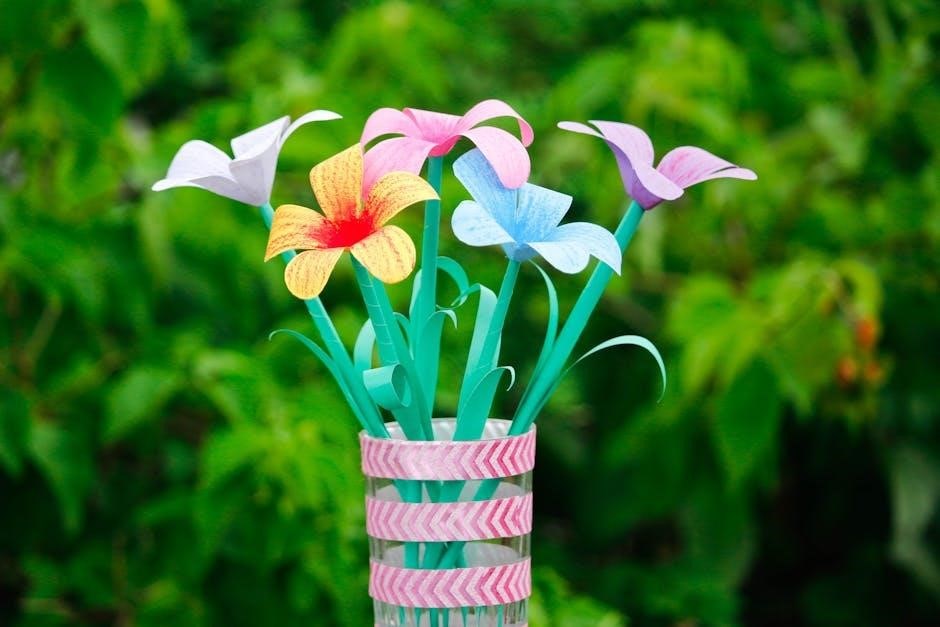
Origami flowers are delicate‚ handcrafted creations made from folded paper‚ offering a timeless way to express beauty and artistry. From simple designs to intricate models‚ they mimic real blooms like roses‚ lilies‚ and cherry blossoms. Perfect for decorations‚ gifts‚ or personal enjoyment‚ origami flowers bring elegance to any setting with their intricate folds and lifelike appearances‚ making them a cherished craft for creators worldwide.
1.2 Importance of PDF Guides for Origami Flowers
PDF guides are indispensable for mastering origami flowers‚ offering clear‚ step-by-step instructions and diagrams. They provide a structured learning path‚ ensuring accuracy and precision in each fold. Accessible anytime and printable‚ these guides cater to all skill levels‚ making complex designs achievable. With detailed visuals and concise instructions‚ PDFs simplify the crafting process‚ helping creators bring their origami flower visions to life effortlessly and efficiently.
Types of Origami Flowers Covered in PDF Guides
Explore various origami flower designs‚ including roses‚ lilies‚ lotus‚ and cherry blossoms‚ each offering unique folding techniques and timeless designs suitable for all skill levels.
2.1 Classic Origami Rose
The classic origami rose is a timeless design that captivates crafters worldwide. Its intricate folds mimic the natural beauty of a real rose‚ making it a popular choice for gifts and decorations.
Guides typically start with a square base‚ unfolding into delicate petals through precise folds. The process involves 14 steps‚ creating a realistic bloom. Additional materials like ribbons and fabric can enhance its elegance‚ making it perfect for bouquets or home decor.
2.2 Origami Lily
The origami lily is a charming and elegant design that captures the simplicity of nature. Its clean lines and minimal folds make it a favorite among crafters. With a 10-step process‚ this flower is ideal for beginners and experienced creators alike.
Starting with a 1.5×1.5 inch square‚ the lily unfolds into a delicate bloom. Its realistic appearance makes it perfect for arrangements or as a standalone piece‚ adding grace to any setting.
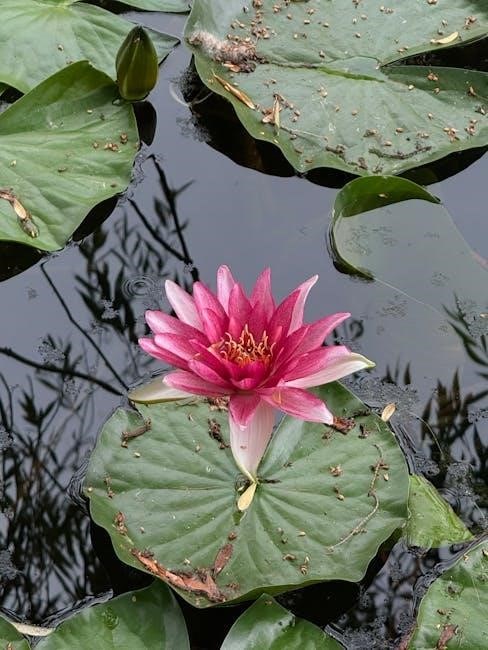
2.3 Origami Lotus Flower
The origami lotus flower is a symbol of beauty and spirituality. Its intricate design requires precise folding techniques‚ making it a rewarding project for intermediate crafters. The process begins with a square sheet‚ folding corners outward from the center to create the iconic lotus shape. Detailed PDF guides provide clear diagrams‚ ensuring each step is mastered for a stunning result. This flower is perfect for meditation-inspired crafts or decorative displays.
2.4 Origami Cherry Blossom
The origami cherry blossom captures the delicate charm of Japan’s iconic flower. Using pink or white paper‚ this model involves creating layered petals and a central stem. PDF guides offer step-by-step instructions‚ making it accessible for all skill levels. The process includes folding techniques to achieve the flower’s signature soft appearance. Once complete‚ cherry blossoms can be used in decorative arrangements or as heartfelt gifts‚ symbolizing fleeting beauty and joy.
Materials and Tools Needed
Origami requires high-quality paper‚ scissors‚ glue‚ and patience. Optional tools include rulers‚ bone folders‚ and ribbons for finishing touches. PDF guides often list specific materials needed for each design.
3.1 Origami Paper Requirements
Origami flowers require high-quality paper‚ typically square‚ with a size of 6×6 inches for standard designs. Choose paper with color on one side and plain on the other for visibility. Look for paper with a smooth texture to ensure crisp folds. Avoid thin or flimsy sheets‚ as they may not hold shapes well. For realistic flowers‚ opt for vibrant colors or patterns. Some designs use duo-colored paper for layered petals. Ensure the paper is sturdy enough to hold folds without tearing. PDF guides often specify paper requirements for each flower model.
3.2 Additional Materials (Ribbons‚ Fabric‚ etc.)
Beyond origami paper‚ enhance your flowers with ribbons for stems or decorative accents. Fabric adds softness and realism‚ ideal for petal layers. Glue or adhesive is essential for securing layers. Scissors are needed for cutting fabric or ribbon. Optional materials include beads or buttons for centers and floral tape for stems. Some guides suggest using starch to stiffen fabric petals for durability. These materials elevate your creations‚ making them more lifelike and visually appealing.
3.3 Tools for Crafting (Scissors‚ Glue‚ etc.)
Essential tools for origami flower crafting include sharp scissors for precise cuts and glue for securing layers. A ruler helps measure and align folds accurately. Bone folders or similar tools create sharp creases. Tweezers are useful for handling small details‚ while cutting mats protect your work surface. Optional items like craft knives or paper trimmers can aid in trimming excess material. These tools ensure clean‚ professional-looking results for your origami creations.
Step-by-Step Folding Process
Begin with a square base‚ fold corners to the center‚ and layer petals for a realistic bloom. Follow detailed PDF guides for precise‚ step-by-step instructions to achieve perfect results.
4.1 Starting with a Square Base
The foundation of most origami flowers begins with a square base. Ensure the paper is perfectly square and crease it lightly diagonally and horizontally. Fold the corners to the center‚ creating a smaller square. This initial step sets the stage for petal formation. Use kami or washi paper for durability. A precise fold ensures symmetry‚ so take your time to align edges carefully. This base is versatile for various flower designs‚ from roses to lilies.
4.2 Folding the Classical Origami Flower Model
After forming the square base‚ fold the paper into layers‚ bringing the corners to the center to create the initial bloom shape. Each layer will form a petal‚ so precision is key. Fold and unfold to create creases‚ then gently lift the edges to shape the petals. Use diagrams to guide alignment and symmetry. Patience and careful folding will bring the classical origami flower to life‚ layer by layer.
Advanced Techniques for Origami Flowers
Elevate your origami skills with advanced layering and detailing. Learn to craft realistic petals‚ add intricate centers‚ and enhance your flowers with subtle folds for a professional finish.
5.1 Layering Petals for Realistic Flowers
Layering petals adds depth and realism to origami flowers. Start by creating multiple petal units‚ folding each with precision. Stack them around a central base‚ ensuring even spacing and alignment. Use subtle folds to shape each petal naturally. Diagrams in PDF guides demonstrate how to layer petals for a lifelike appearance. Practice this technique to achieve intricate‚ professional-looking blooms that mimic real flowers. This method works beautifully for roses‚ lilies‚ and lotus designs.
5.2 Adding Stems and Leaves
Add stems and leaves to enhance the natural appearance of your origami flowers. Cut long rectangular strips for stems and shape smaller pieces into leaf forms. Attach them securely using glue or fold them into the base of the flower. This step adds realism and completes the design. PDF guides provide diagrams to help you craft and attach stems and leaves seamlessly‚ ensuring a polished finish for your origami creations.
Variations and Customizations
Personalize your origami flowers with vibrant colors‚ patterns‚ and unique materials like ribbons and fabric. These variations allow you to create one-of-a-kind designs that reflect your creativity and style.
6.1 Using Different Colors and Patterns
Elevate your origami flowers by experimenting with vibrant colors and intricate patterns. Use colored origami paper to create realistic petals or mix patterns for a unique‚ personalized look. Incorporate metallic finishes or textured designs to add depth and visual interest. These variations allow you to craft flowers that stand out‚ making each piece truly special and reflective of your artistic vision.
6.2 Incorporating Fabric and Other Materials
Add a unique touch to your origami flowers by incorporating fabric‚ ribbons‚ or lace. These materials bring texture and durability‚ making your creations more versatile. Experiment with felt for soft petals or combine fabric with paper for a mixed-media effect. Additionally‚ explore embellishments like beads or paint to enhance details. This technique allows you to craft intricate‚ long-lasting flowers that stand out‚ perfect for gifts or home decor.
Resources for Origami Flower Instructions
Explore a variety of origami flower resources‚ including downloadable PDF guides‚ video tutorials‚ and step-by-step diagrams. Find everything needed to master origami flowers with ease.
7.1 Where to Find Free Origami Flower PDFs
Discover free origami flower PDFs on platforms like Pinterest‚ Etsy‚ and Origami Spirit. These resources offer downloadable guides for various flower models‚ including lilies‚ roses‚ and lotus flowers. Many PDFs are designed for beginners‚ featuring clear diagrams and step-by-step instructions. Websites like Origami-Instructions.com and PaperFolding;com also provide comprehensive tutorials. Perfect for crafting enthusiasts‚ these guides ensure a smooth learning experience for all skill levels.
7.2 Video Tutorials to Supplement PDF Guides
Enhance your origami skills with video tutorials available on YouTube and crafting websites. These visual guides complement PDF instructions‚ offering step-by-step demonstrations for intricate folds. Platforms like YouTube and Etsy feature tutorials for origami lilies‚ roses‚ and lotus flowers. Videos provide clarity for complex techniques‚ making them ideal for beginners. They also include tips for troubleshooting common mistakes‚ ensuring a smoother crafting experience for all skill levels‚ from basic to advanced designs.
7.3 Importance of Diagrams in Instructions
Diagrams are essential for understanding origami flower instructions‚ especially for visual learners. They provide a clear‚ step-by-step visual guide‚ making complex folds easier to follow. Detailed images show the direction of each fold‚ ensuring accuracy. Many PDF guides include high-quality diagrams‚ which are crucial for mastering intricate designs like the lotus or cherry blossom. These visuals complement written instructions‚ helping crafters achieve precise and beautiful results every time they create an origami flower.

Troubleshooting Common Mistakes
Common issues include uneven petals and tight folds. Adjust folds carefully‚ ensuring symmetry. Use the right paper type to avoid creases and achieve smooth‚ precise results every time.
8;1 Fixing Uneven Petals
Uneven petals can ruin the aesthetic of your origami flower. To fix this‚ gently unfold and adjust the folds for symmetry. Use a ruler or tool to ensure even creases. If petals are too tight‚ lightly stretch them. For loose areas‚ reinforce folds carefully. Practice makes perfect; start with simpler models to build precision. Refer to diagrams in your PDF guide for visual guidance to achieve balanced‚ natural-looking petals every time.
8.2 Adjusting Tight Folds
Tight folds can cause distortion in your origami flower. To adjust‚ use a blunt tool like a chopstick to gently pry open overly tight creases without tearing. Refold carefully‚ ensuring even pressure. If folds are too sharp‚ soften them by tracing with your finger. Diagrams in PDF guides often highlight areas prone to tightness; Practice loosening folds gradually to maintain the flower’s natural shape and balance. Patience is key to achieving smooth‚ even results.
Creative Uses for Origami Flowers
Origami flowers add elegance to various projects‚ from decorative arrangements to gift wrapping and pop-up cards. Use ribbons‚ fabric‚ or colored paper for unique‚ personalized creations that inspire artistry.
9.1 Decorative Arrangements
Origami flowers can be arranged in vases or bowls for stunning home decor. Their realistic appearance and vibrant colors add elegance to any space. Use tissue paper carnations or fabric flowers to create lifelike centerpieces. Experiment with layering petals and incorporating stems for a professional finish. These arrangements are perfect for special occasions or everyday beauty‚ showcasing your creativity and skill in origami art.
9.2 Gift Wrapping Ideas
Origami flowers add a personal and elegant touch to gift wrapping. Attach them to presents‚ gift boxes‚ or bags for a unique finish. Use tissue paper carnations or fabric flowers to create a delicate look. Consider combining origami blooms with ribbons or greenery for a natural appearance. These flowers can also be incorporated into DIY gift tags or cards‚ making your presents truly memorable and showcasing your creativity and effort.
9.3 Crafting Pop-Up Cards
Origami flowers bring a 3D charm to pop-up cards‚ making them ideal for special occasions like birthdays or weddings. Attach folded blooms to card bases for a dynamic effect. Use tissue paper carnations or fabric flowers for a delicate look. Add details like centers or leaves for realism. Combine with ribbons or greenery for extra flair‚ creating unique and memorable greeting cards that showcase your creativity and skill in origami art.
Mastering origami flowers opens a world of creative possibilities. With detailed PDF guides and video tutorials‚ you can craft stunning blooms for gifts‚ decorations‚ and heartfelt cards. Keep experimenting and sharing your beautiful creations!
10.1 Final Tips for Mastering Origami Flowers
Practice patience and precision‚ as small details make a big difference. Start with simple models and gradually move to complex designs. Use high-quality origami paper for better results. Refer to diagrams and videos for clarity. Experiment with colors and materials to add uniqueness. Store your creations in a dry place to maintain their shape. Most importantly‚ enjoy the process and share your art with others to inspire creativity!
10.2 Encouragement to Experiment and Share Creations
Embrace creativity by experimenting with new techniques and materials. Share your origami flower creations on social media or in crafting communities to inspire others. Teaching others or showcasing your work can foster a sense of accomplishment. Don’t hesitate to try unconventional designs or collaborate with fellow enthusiasts. Remember‚ origami is not just a craft—it’s a way to connect and spread joy through art!