Discover the joy of creating elegant wooden jewelry boxes with detailed PDF plans. These guides offer step-by-step instructions for crafting beautiful‚ functional storage solutions for your treasures.
Overview of DIY Jewelry Box Making
DIY jewelry box making is a rewarding project that combines creativity with practicality. It allows you to craft a personalized storage solution for your treasures. With free PDF plans‚ you can follow step-by-step guides tailored to various skill levels. These plans often include material lists‚ cutting diagrams‚ and assembly instructions. Whether you’re a beginner or an experienced woodworker‚ DIY jewelry box making offers a fun way to create functional and elegant pieces for yourself or as gifts. It’s a great way to organize your jewelry while adding a personal touch to your space.
Importance of Using PDF Plans for Woodworking Projects
Using PDF plans for woodworking projects ensures clarity and precision. These detailed guides provide step-by-step instructions‚ measurements‚ and diagrams‚ making it easier to follow along. PDF plans are often downloadable and printable‚ allowing you to reference them easily while working. They also include material lists and cutting guides‚ helping you stay organized. Whether you’re a beginner or an experienced woodworker‚ PDF plans streamline the process‚ reducing errors and saving time. This makes them an essential tool for successfully completing your wooden jewelry box project.

Materials and Tools Required
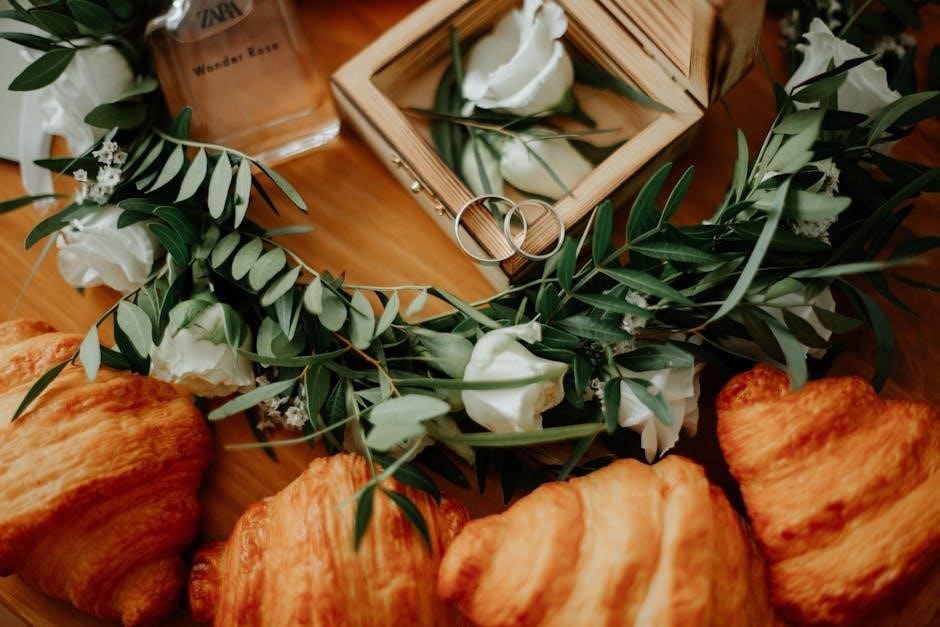
Essential materials include high-quality woods like cedar or walnut‚ hinges‚ and a locking mechanism. Tools such as saws‚ sanders‚ and measuring instruments ensure precise cuts and smooth assembly.
Essential Woods for Jewelry Boxes
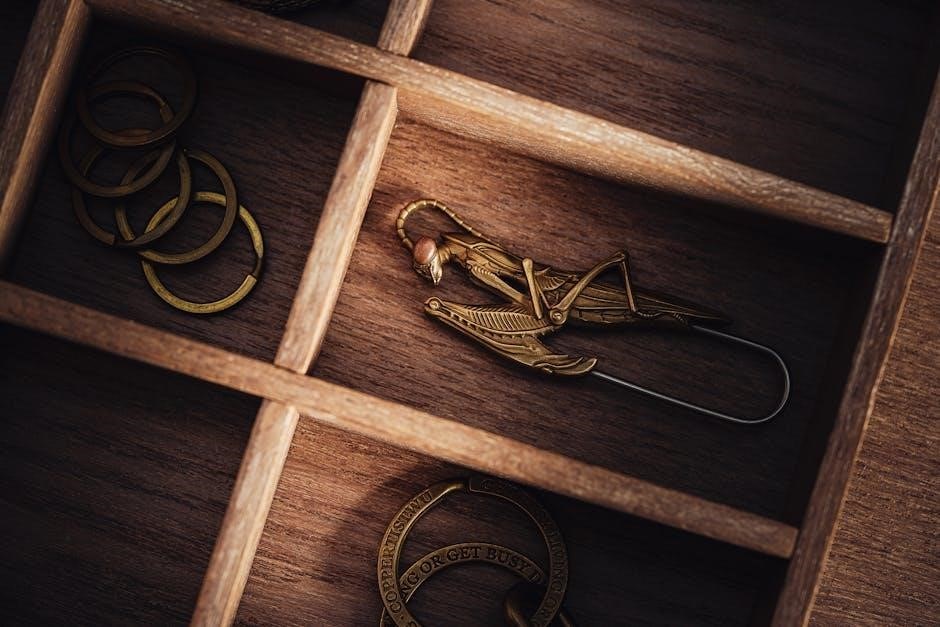
Choosing the right wood is crucial for crafting a durable and visually appealing jewelry box. Cedar‚ walnut‚ and cherry are popular choices due to their rich grain patterns and aromatic properties. Cedar is naturally resistant to insects and has a distinct fragrance‚ making it ideal for storage. Walnut offers a luxurious appearance with its dark‚ dense wood‚ while cherry provides a smooth finish and ages beautifully. For budget-friendly options‚ consider pine or birch‚ which are versatile and easy to work with. Some plans also suggest using sustainably sourced or FSC-certified woods to ensure environmental responsibility. Always select wood that complements the design and intended use of your jewelry box.
Tools Needed for Cutting and Assembling
To bring your wooden jewelry box plans to life‚ you’ll need essential tools for precise cutting and assembly. A table saw or miter saw is ideal for making accurate cuts‚ while a drill press ensures clean holes for hinges and hardware. Sanding tools‚ such as orbital sanders or sandpaper‚ are crucial for smoothing surfaces. Clamps‚ chisels‚ and measuring tools like tape measures and squares are also indispensable for aligning and securing pieces. For intricate details‚ a router or hand tools like gouges may be required. Always prioritize safety with gloves and goggles.
Choosing the Right Design
Selecting the perfect design for your wooden jewelry box involves balancing personal style‚ functionality‚ and skill level. Consider classic elegance‚ modern simplicity‚ or customizable options to suit your needs.
Classic vs. Modern Jewelry Box Designs
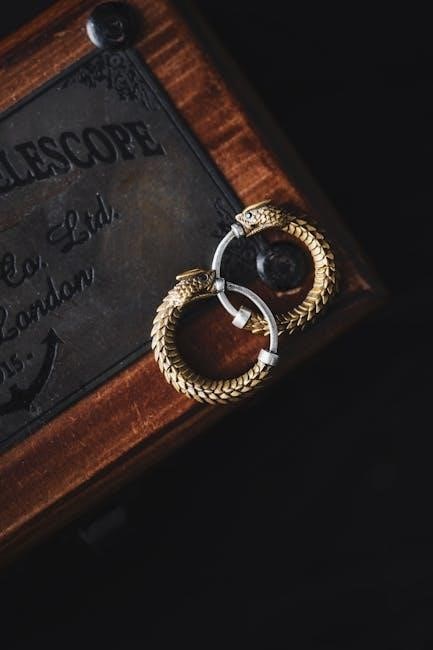
Classic jewelry box designs often feature intricate carvings‚ ornate details‚ and traditional wood finishes‚ appealing to those who appreciate timeless elegance. Modern designs‚ however‚ emphasize minimalism with clean lines‚ sleek shapes‚ and innovative materials. Some plans blend both styles‚ offering versatility for craftsmen. Classic boxes may include brass hinges and velvet linings‚ while modern versions might incorporate glass tops or magnetic closures. The choice depends on personal taste and the intended use‚ ensuring a perfect fit for any style or skill level.
Considering Size and Storage Capacity
When selecting a wooden jewelry box plan‚ consider the size and storage capacity based on your needs. Small boxes are ideal for minimalists‚ while larger designs offer ample space for extensive collections. Some plans include adjustable compartments or drawers‚ allowing customization. Measure your jewelry pieces to determine the ideal dimensions. Travel-sized boxes are portable‚ while armoire-style designs provide luxurious storage. Ensure the plan aligns with your available workspace and the intended use‚ whether for personal use or as a gift.
Understanding the PDF Plans
PDF plans for wooden jewelry boxes provide detailed diagrams‚ measurements‚ and step-by-step instructions‚ ensuring clarity and precision for craftsmen of all skill levels to follow effortlessly.
How to Read and Interpret Woodworking Plans
Reading woodworking plans requires understanding symbols‚ measurements‚ and material lists. Start by identifying the project overview‚ which outlines the finished dimensions and required tools. Pay attention to detailed diagrams‚ as they illustrate assembly steps and component relationships. Measurements are typically in inches‚ and cutting lists specify lumber sizes. Look for notes on hardware placement and joinery methods. Familiarize yourself with woodworking terminology to avoid confusion. Practice visualizing the project in stages‚ ensuring alignment with your skill level and available resources.
Key Measurements and Dimensions
Precise measurements are crucial for crafting a wooden jewelry box. Typical plans specify dimensions like 10 inches long‚ 5 inches wide‚ and 3 inches high‚ with material thickness around 0.25 inches. Ensure all cuts align with these measurements for a proper fit. Adjustments can be made to suit preferences or materials. Double-check dimensions before cutting to avoid errors. Accurate sizing ensures the box is functional and aesthetically pleasing‚ making it essential to follow the plan or modify thoughtfully for custom designs.
Step-by-Step Building Process
Follow detailed PDF guides for a seamless woodworking experience. Step-by-step instructions ensure accuracy‚ from cutting wood to assembling the box‚ making the process straightforward and enjoyable.

Cutting and Preparing the Wood Pieces
Cutting and preparing wood pieces is the foundation of your jewelry box project. Start by selecting high-quality wood‚ such as maple or cherry‚ and ensure it is properly measured and marked according to your PDF plan. Use a saw to make precise cuts‚ and sand each piece to smooth out any rough edges. Proper preparation ensures a flawless assembly and a professional finish for your wooden jewelry box.
Assembling the Box and Lid
Assembling the box and lid requires precision and patience. Follow your PDF plan to align the sides and base‚ using clamps to hold pieces in place. Apply wood glue to the joints and ensure proper fit before securing with nails or screws. Attach the lid hinge carefully‚ ensuring it opens and closes smoothly. Double-check alignment to guarantee a snug fit. Allow the glue to dry completely before handling the box to ensure stability and durability.
Adding Hinges and a Locking Mechanism
Attach hinges to the lid and box base for smooth operation. Mark hinge locations precisely‚ ensuring proper alignment. Use screws to secure the hinges‚ then test the lid’s movement. For a locking mechanism‚ drill a small hole for the lock’s pin and install the hardware. Ensure the lock aligns with the striker plate for a secure closure. Follow your PDF plan for specific measurements and hardware recommendations to achieve a professional finish.
Finishing Touches
Finish your wooden jewelry box by sanding all surfaces for smoothness; Apply wood stain or paint‚ then seal with a protective clear coat for lasting durability and elegance.
Sanding and Applying Wood Stain or Paint
Sanding is crucial for a smooth finish. Start with coarse-grit sandpaper (120-150) and progress to finer grits (220-240) for a polished surface. Apply a wood conditioner to ensure even staining. Use a natural-bristle brush to apply Minwax Wood Finish‚ working into corners. Wipe excess stain with a clean cloth and let it set for 5-15 minutes. For paint‚ choose acrylic or latex-based options and apply thin‚ even coats. Allow each coat to dry before sanding lightly and applying the next. This ensures a professional‚ long-lasting finish.
Sealing the Box for Protection
Sealing your wooden jewelry box is essential for protecting it from moisture and wear. Apply a clear coat of polyurethane‚ wax‚ or oil-based sealant using a clean cloth. Allow the first coat to dry completely before applying a second coat for enhanced durability. Ensure all surfaces‚ including the lid and hinges‚ are covered. Proper sealing preserves the wood’s finish and ensures the box remains sturdy and attractive for years. This final step completes your project‚ safeguarding your craftsmanship and the treasures within.
Tips for Beginners
Start with simple designs‚ use proper tools‚ and follow PDF plans closely. Sand thoroughly for a smooth finish and seal the wood for lasting protection.
Common Mistakes to Avoid
When crafting a wooden jewelry box‚ avoid measurement errors by double-checking cuts. Ensure proper alignment before assembling to prevent joints from misaligning. Use clamps to hold pieces securely‚ allowing glue to set fully. Sand thoroughly between coats of stain or paint to achieve a smooth finish. Inadequate sanding can lead to uneven surfaces. Additionally‚ avoid rushing the drying process‚ as this may result in a tacky or damaged finish. Patience is key to a professional-looking result.
Adjusting Plans to Suit Skill Levels
Beginners should start with simple designs‚ focusing on basic joints and minimal components. Intermediate woodworkers can add intricate details like carvings or dividers. Advanced craftsmen may explore complex joinery or custom sizes. Always choose plans that align with your skill level to ensure success. Detailed PDF guides often include adaptable instructions‚ allowing you to modify projects to suit your expertise. This flexibility ensures a rewarding experience‚ whether you’re just starting or refining your craftsmanship.
Advanced Techniques
Elevate your craft with intricate carvings‚ inlays‚ or advanced joinery methods‚ enhancing both aesthetics and durability. Precision tools and expert guidance from PDF plans help master these skills.
Incorporating Intricate Designs or Carvings
Incorporating intricate designs or carvings into your wooden jewelry box adds a touch of elegance and personalization. Use routers with specialized templates or hand-carving tools to create patterns‚ motifs‚ or even personalized initials. For more complex designs‚ consider laser cutting or CNC machining. These techniques allow for precise detailing‚ transforming your jewelry box into a unique piece of art. While intricate designs enhance aesthetics‚ they require patience and skill. Start with simpler patterns and gradually experiment with more complex carvings as you gain confidence.
Using Advanced Joinery Methods
Advanced joinery methods elevate the craftsmanship of your wooden jewelry box. Techniques like dovetail joints‚ mortise and tenon‚ or box joints provide exceptional strength and a professional finish. These methods require precision but result in a durable‚ long-lasting construction. For hand-cut joints‚ use chisels and fine-tooth saws to ensure accuracy. Alternatively‚ jigs and routers can help achieve consistent results. Advanced joinery not only enhances functionality but also adds a touch of sophistication to your design‚ making it stand out. Detailed PDF plans often include step-by-step guidance for mastering these techniques.
Measuring and Fitting
Accurate measuring ensures a perfect fit for your wooden jewelry box. Use precision tools like a digital caliper for exact dimensions. Proper alignment is critical for seamless assembly and functionality‚ preventing gaps or misfits. Double-check measurements before cutting to avoid errors. Clamp pieces together to test the fit before final assembly. Sand edges for smooth joints to achieve a polished‚ professional finish.
Ensuring Proper Alignment and Fit
Accurate alignment and fit are crucial for a professional finish. Use clamps to hold pieces in place‚ ensuring edges align perfectly before securing them. Digital calipers help measure precise dimensions‚ while test fits prevent gaps or misfits. Sand all edges until smooth to ensure seamless joints. Double-check the lid-to-base alignment for proper closure. Clamp pieces together before final assembly to verify fit. This attention to detail ensures a sturdy‚ polished wooden jewelry box that functions flawlessly and looks exquisite.
Adjusting Plans for Custom Sizes
Customizing the size of your wooden jewelry box is easy with adjustable PDF plans. Scale dimensions proportionally to maintain structural integrity. Use digital tools to recalculate measurements or manually adjust cutting lists. Consider the thickness of materials and their impact on overall proportions. Test fit pieces before final assembly to ensure proper alignment. This flexibility allows you to create a box tailored to specific needs‚ whether smaller for delicate items or larger for extensive collections‚ ensuring functionality and aesthetic appeal.

Sources for Free PDF Plans
Explore free PDF plans for wooden jewelry boxes on websites like Ana White‚ ProToolGuide‚ and Woodworking Plans. These platforms offer detailed guides for various designs and skill levels.
Recommended Websites for Downloading Plans
Access free wooden jewelry box plans from trusted platforms like Fine Woodworking‚ Woodsmith‚ and Instructables. These sites provide detailed PDF guides‚ catering to both beginners and skilled craftsmen. Fine Woodworking offers intricate designs with precise measurements‚ while Woodsmith features modern and classic patterns. Instructables includes community-shared projects with step-by-step photos and tutorials. These resources ensure you can find the perfect plan to suit your project goals and skill level‚ helping you create stunning jewelry boxes effortlessly.